Follow Me On Social Media!

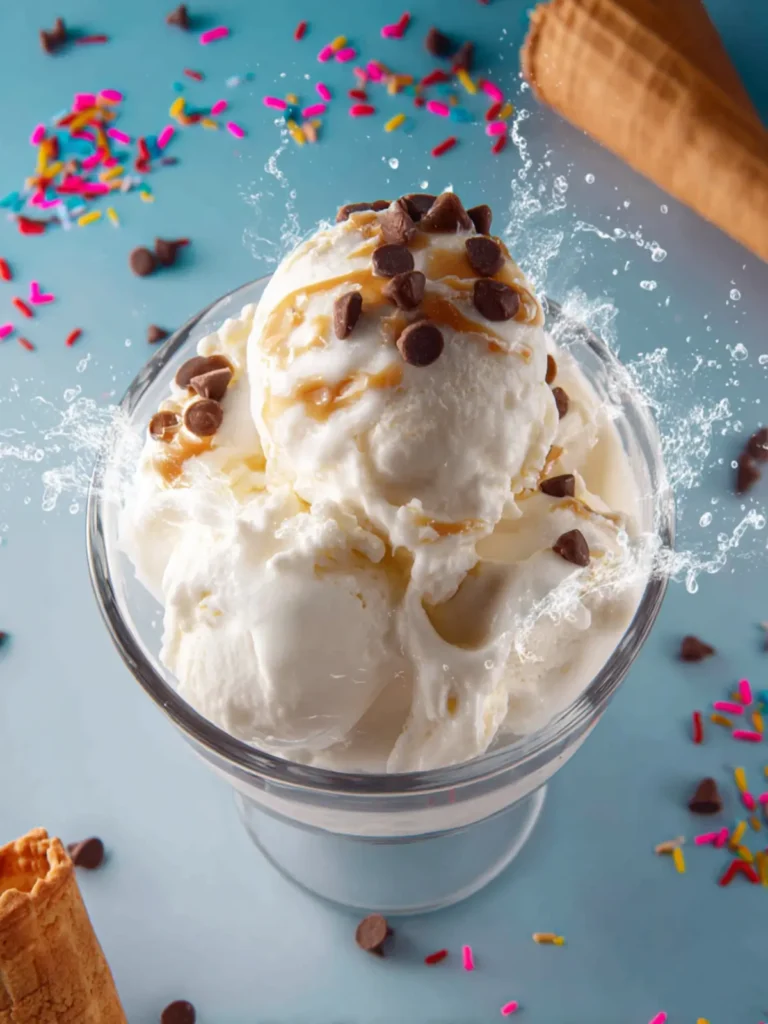
Butterfinger Ice Cream Homemade: Indulgent Bliss Awaits!
Introduction to Butterfinger Ice Cream Homemade
Imagine a warm summer evening, your favorite movie playing in the background, and a bowl of Butterfinger ice cream homemade in your hand, sending your taste buds into a delightful frenzy. This luxurious treat isn’t just a dessert; it’s an experience steeped in nostalgia, making it a special indulgence that transports you back to carefree childhood days filled with ice cream trucks and sweet surprises.
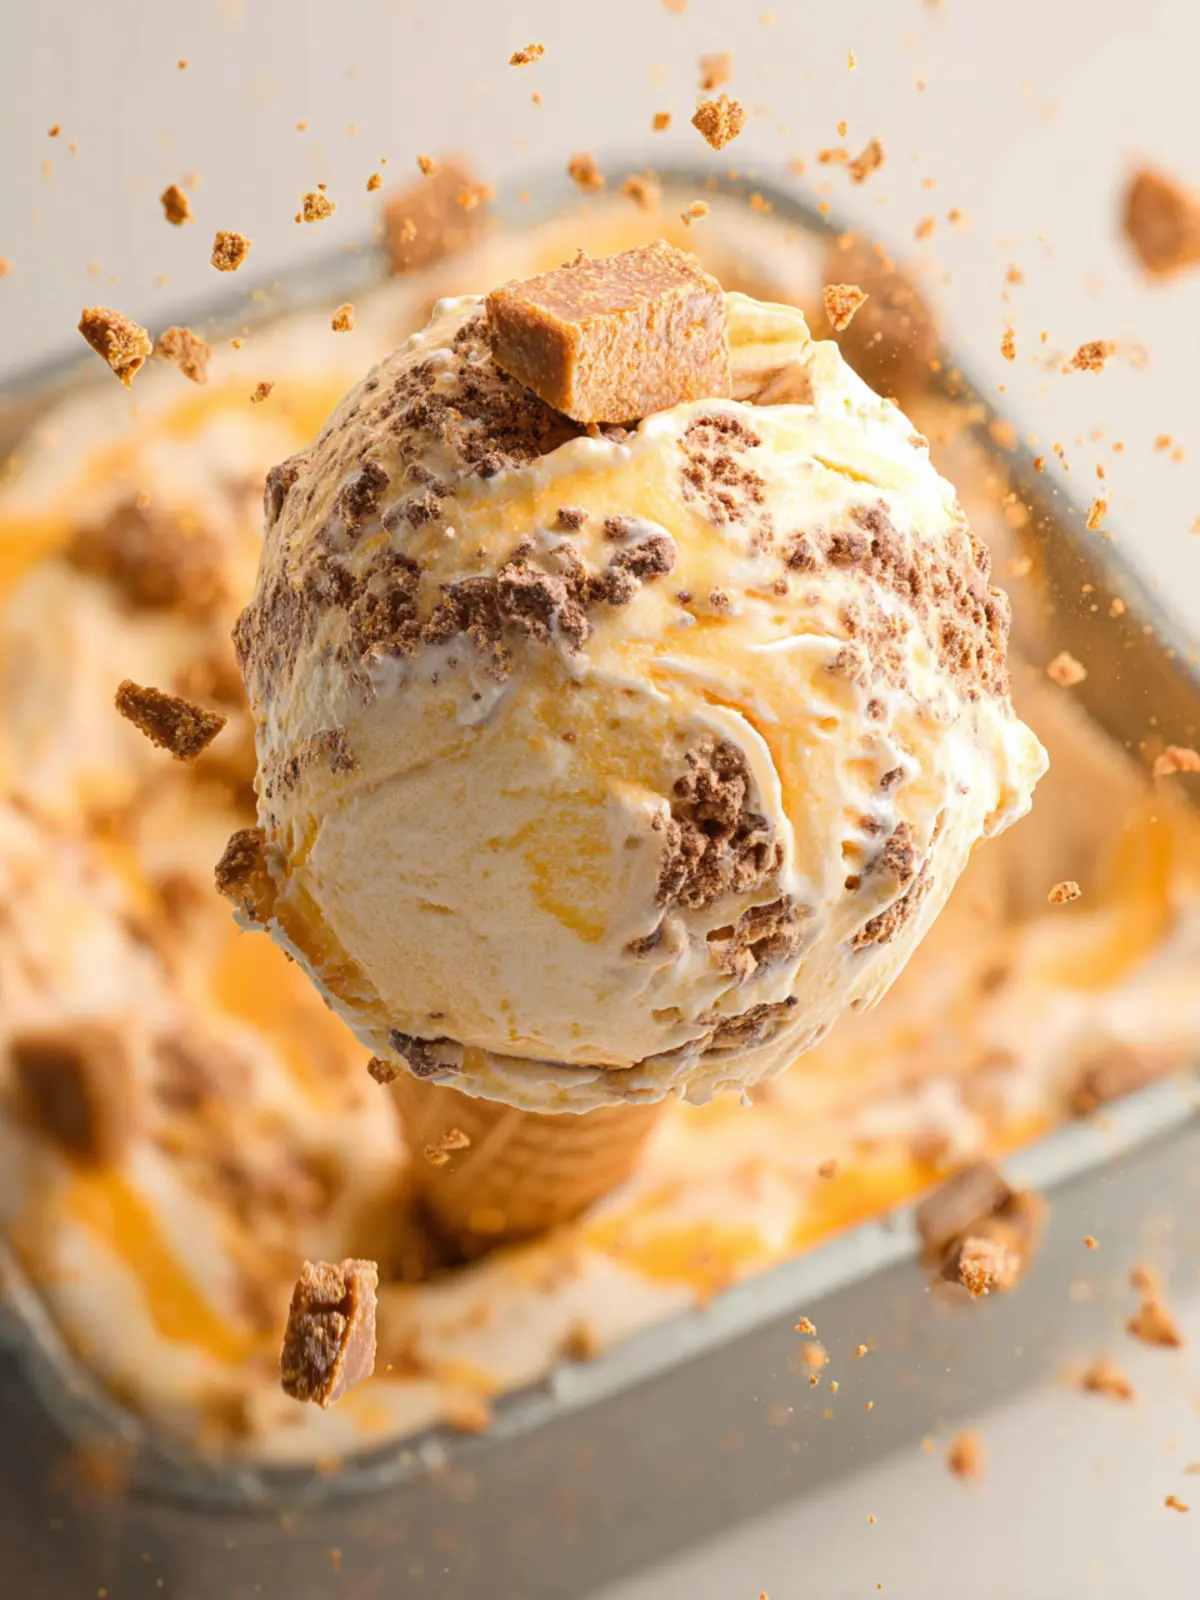
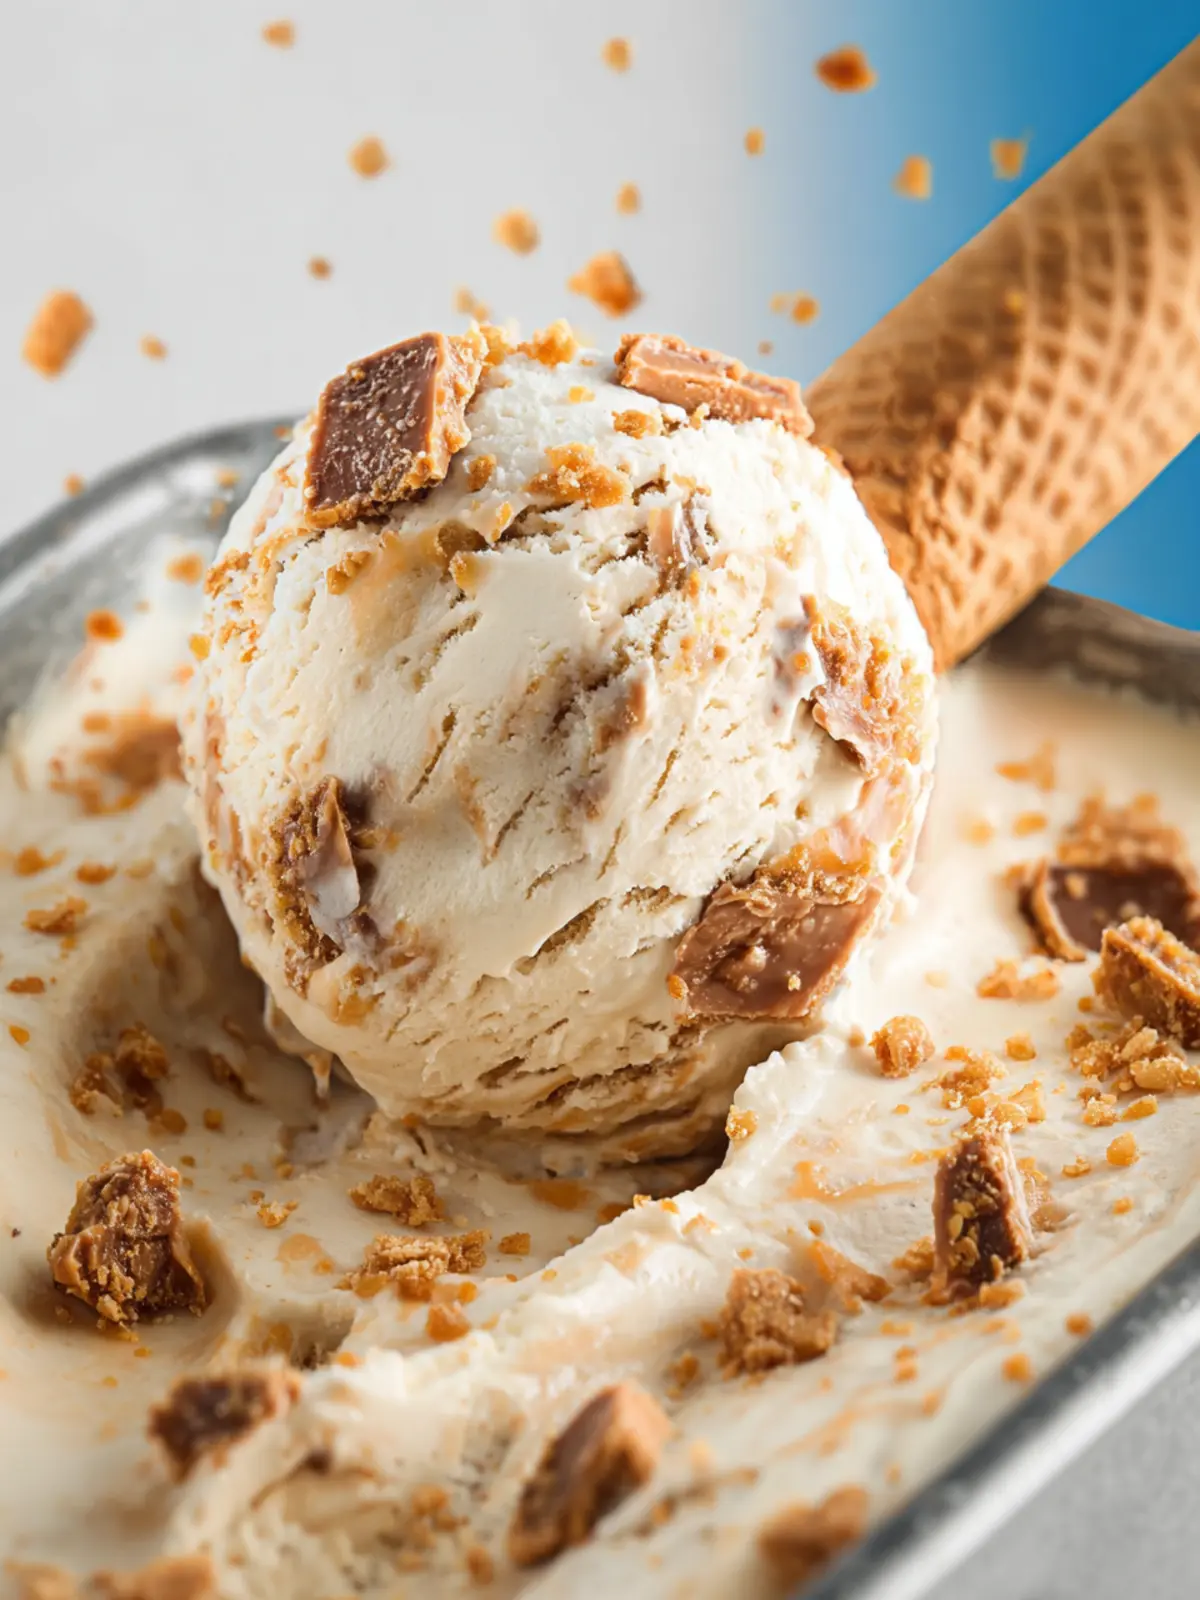
What makes Butterfinger ice cream so special? It stands out for a multitude of reasons. First, combining the rich flavor of creamy vanilla or chocolate ice cream with the crispy, peanut-buttery crunch of Butterfinger bars transforms a traditional dessert into something extraordinarily delightful. Each bite offers the perfect contrast between smooth and crunchy textures, and that iconic buttery taste creates an unforgettable flavor profile.
Homemade ice cream is another winner in this equation. Making your own Butterfinger ice cream at home means you control the ingredients and can customize it to your liking—perhaps a little extra peanut butter or an added swirl of fudge? Plus, there’s a distinctive joy that comes with crafting something yourself, making it a great bonding activity for family and friends.
At its essence, Butterfinger ice cream homemade captures the charm of simple pleasures that resonate throughout our lives. Whether you’re hosting a summer barbecue, celebrating a birthday, or simply indulging in a sweet moment after a long day, this ice cream recipe is sure to make any occasion feel just a bit sweeter.
So, why not dive into this delectable homemade treat? With every spoonful, you’ll find comfort and joy amplified by that nostalgic crunch we all know and love. Let’s explore the ingredients that bring this concoction to life and take a step closer to your new favorite summer dessert!
What Makes Butterfinger Ice Cream So Special?
Here are a few reasons why this delightful treat holds a special place in the hearts of many:
- Delicious Flavor: The sweet, salty, and nutty flavors of the Butterfinger candy combined with creamy ice cream create a taste explosion.
- Nostalgia: Many associate Butterfingers with childhood, making enjoying this ice cream a trip down memory lane.
- Textural Contrast: The combination of smooth ice cream and crunchy candy offers a satisfying experience with each bite.
Now, let’s explore the essential ingredients that will help you craft the perfect Butterfinger ice cream homemade in your own kitchen!
Key Ingredients for Butterfinger Ice Cream
Creating the perfect butterfinger ice cream homemade recipe starts with choosing the right ingredients that can take your dessert to the next level.
-
Heavy Cream: To achieve that luscious, creamy texture, I always go for heavy cream. It melts beautifully on your tongue and provides a richness that’s hard to resist.
-
Sweetened Condensed Milk: This ingredient adds a delightful sweetness while ensuring your ice cream remains super creamy. You can’t substitute it without losing the essential flavor profile!
-
Vanilla Extract: A splash of pure vanilla extract elevates the flavors in this ice cream, adding warmth and depth that balances out the sweetness of the condensed milk.
-
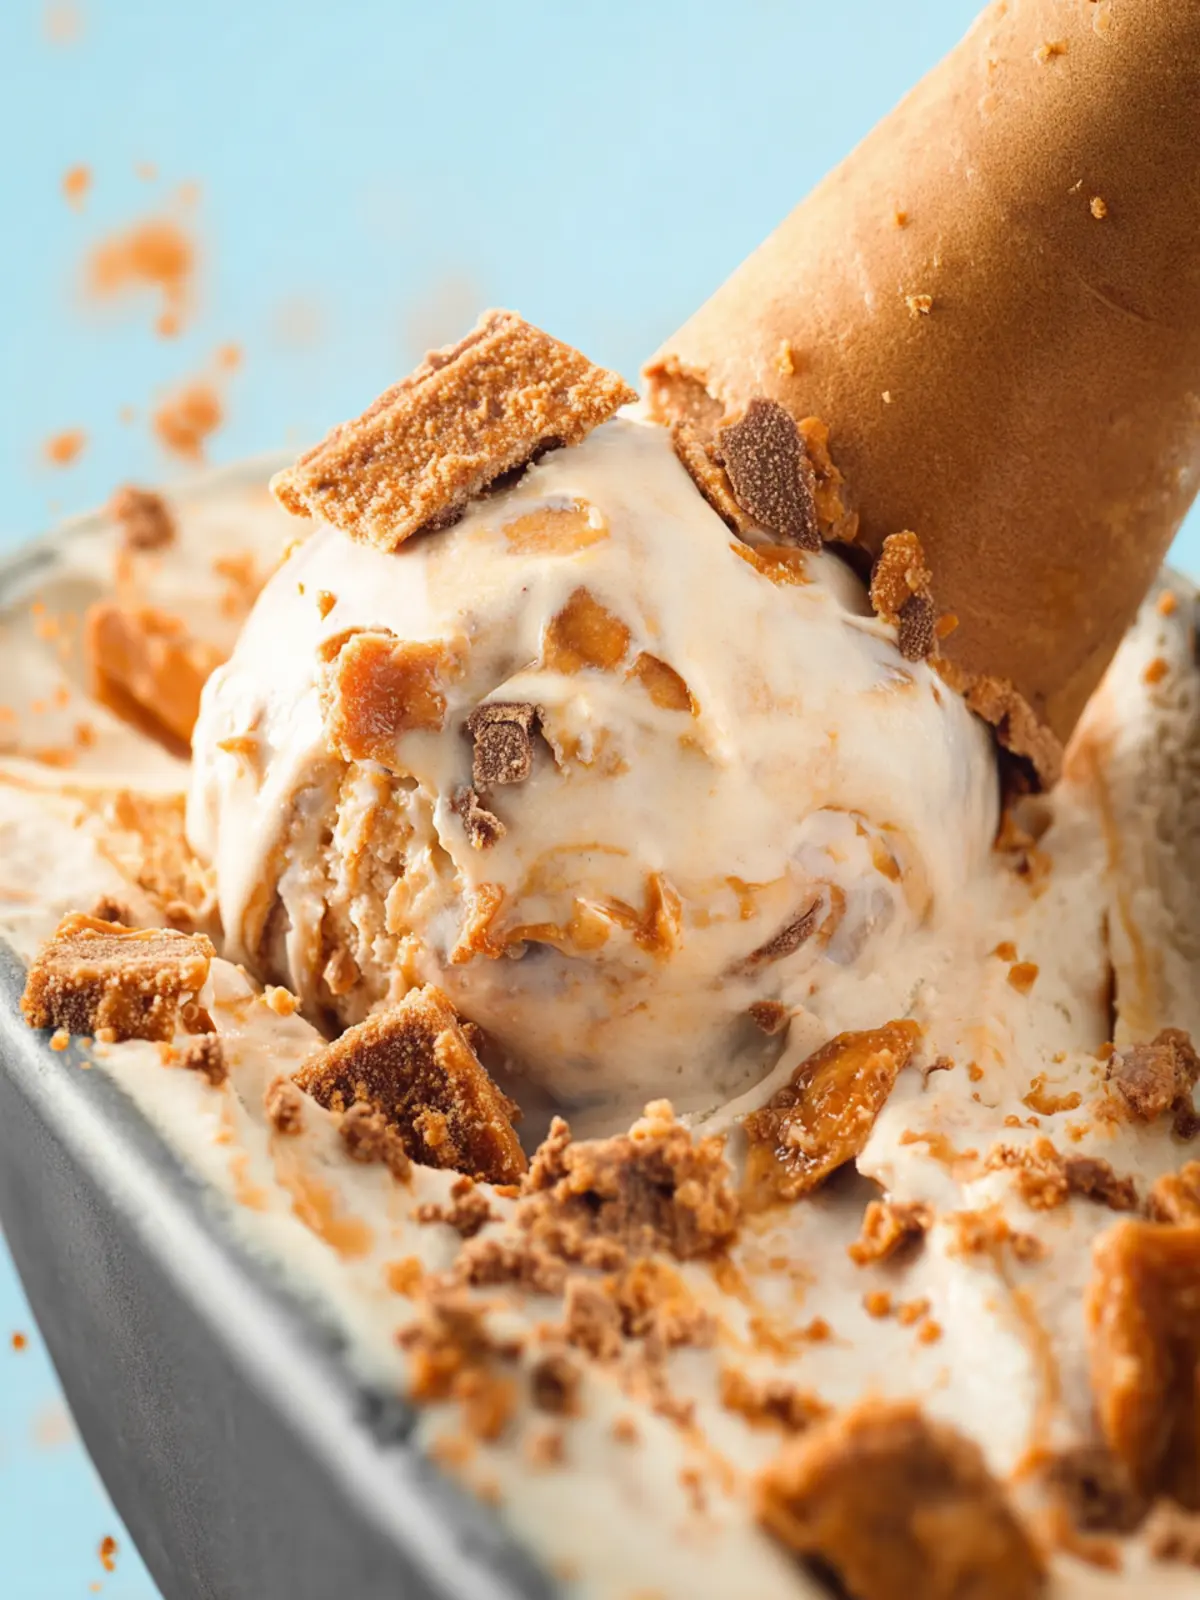
Butterfinger Candy Bars: Of course, the star of the show! Chop these into bite-sized pieces for that signature crunchy texture. The saltiness of the chocolate and peanut butter blend beautifully with the creaminess of the ice cream.
-
Salt: Just a pinch of salt brings out all the flavors in your butterfinger ice cream homemade recipe, making sure it’s not overwhelmingly sweet.
By carefully selecting these key ingredients, you’ll find yourself crafting a truly delightful frozen treat right in your kitchen.
Why You’ll Love This Recipe
When you dive into the world of butterfinger ice cream homemade, you’re not just making a dessert; you’re creating a delightful experience that’s perfect for sharing or savoring on your own. Imagine a creamy, dreamy scoop that brings back childhood memories of crunching into your favorite candy bar, all while knowing you made it from scratch.
Unique Flavor Combination
This recipe blends rich, velvety ice cream with the irresistible crunch and peanut butter flavor of Butterfinger bars. Each bite is a perfect harmony of sweet and salty, providing a satisfying texture that store-bought varieties often lack. The best part? You know exactly what’s in it because you’re in control of every ingredient!
Perfect for All Occasions
Whether it’s a sunny day, a cozy movie night, or a summer barbecue, this butterfinger ice cream homemade is a hit. It’s versatile enough to match any event or mood.
Fun to Make
Making your own ice cream can be an enjoyable bonding experience if you get your friends or family involved. Plus, when you pull that creamy concoction out of the freezer, it’s bound to impress everyone. Why settle for less when you can enjoy an exquisite treat made right at home?
Variations for Butterfinger Ice Cream
Bringing butterfinger ice cream homemade to life opens the door to a world of creative variation! By tweaking a few ingredients, you can tailor this delicious treat to reflect your personal tastes and preferences. Here are some exciting ideas to experiment with:
-
Nutty Delight: Incorporate chopped nuts like pecans or almonds into the mixture for a satisfying crunch that complements the buttery goodness of the Butterfinger.
-
Chocolate Chip Swirl: Fold in mini chocolate chips during the last few minutes of churning to add extra chocolatey goodness. You won’t regret this rich enhancement.
-
Caramel Flavor: Drizzle in some caramel sauce during the mixing stage for a sweet, gooey layer that enhances the overall flavor profile. This creates a wonderful contrast with the chocolate and peanut butter notes.
-
Seasonal Spices: Consider adding a hint of cinnamon or nutmeg for a cozy twist, perfect for a fall-themed dessert!
Feel free to mix and match these variations to discover your ideal version of butterfinger ice cream homemade. The flexibility of this recipe means endless possibilities!
Cooking Tips and Notes for Butterfinger Ice Cream
Making Butterfinger ice cream homemade is a delicious journey filled with sweet discoveries. Here are some helpful tips to ensure your creamy creation turns out perfect every time.
Choosing Your Base
- Cream and Milk: For the richest taste, opt for heavy cream and whole milk. Their higher fat content leads to a creamier ice cream that melts delightfully in your mouth. If you’re aiming for a lighter version, you can substitute half and half.
Mixing Your Ingredients
- Sugar: Granulated sugar is essential for sweetness, but you can experiment with brown sugar for a deeper flavor profile. It adds a hint of caramel that complements the Butterfinger chunks beautifully.
- Flavor Boosters: A splash of vanilla extract brightens up the overall flavor. Don’t skip this; it’s a small addition that makes a big difference!
Incorporating the Butterfingers
- Chopping the Bars: Ensure that your Butterfinger pieces are unevenly chopped—some larger chunks for texture and smaller bits for flavor bursts. Mix them in right before transferring your ice cream to freeze.
Churning Perfectly
- Ice Cream Maker: If you have an ice cream maker, use it for the best results. Churn until the mixture thickens to a soft-serve consistency. If you don’t have a machine, freeze the mixture in a shallow pan and stir every 30 minutes for a creamy texture.
Storing Your Ice Cream
- Storage Tips: Keep your ice cream in an airtight container. A layer of plastic wrap pressed directly on top of the ice cream helps prevent ice crystals from forming, ensuring a smooth, creamy treat.
With these tips, your Butterfinger ice cream homemade will be the star of your dessert table!
Serving Suggestions for Butterfinger Ice Cream
Creating your own Butterfinger ice cream homemade is a delightful adventure that extends beyond just scooping it into a bowl. Imagine serving it at your next gathering or enjoying it on a cozy night in. Here are some tasty ways to elevate your ice cream experience:
-
Sundae Delight: Craft an indulgent sundae by layering your Butterfinger ice cream with hot fudge, whipped cream, and a sprinkle of chopped Butterfinger bars. This combination provides a perfect balance of creaminess and crunch.
-
Milkshake Magic: Blend a scoop or two of butterfinger ice cream with milk for a decadent milkshake. Top it off with whipped cream and a drizzle of chocolate syrup for a chocolate-peanut buttery extravaganza.
-
Ice Cream Sandwiches: Spread your Butterfinger ice cream between two freshly baked chocolate chip cookies for a nostalgic treat that will take your taste buds on a trip down memory lane.
-
Cake Pairing: Serve a scoop alongside a slice of rich chocolate cake to create a delightful contrast between the textures. The creamy ice cream enhances the cake’s flavor and adds a refreshing element.
These serving suggestions make your homemade butterfinger ice cream not just a dessert, but an experience to savor. Enjoy!
Time Breakdown for Butterfinger Ice Cream
Creating butterfinger ice cream homemade is not just about indulgence, it’s also a delightful journey through the kitchen. With just a bit of planning, you can savor this creamy treat in no time.
Preparation Time
For the best results, set aside about 30 minutes for preparation. This includes gathering your ingredients and prepping the mixture to ensure everything melds together beautifully.
Churning Time
Once your mixture is prepared, the churning process typically takes about 20-25 minutes. This crucial step transforms your creamy base into the light, airy texture that makes homemade ice cream so irresistible.
Total Time
From start to finish, you’re looking at a grand total of approximately 55 minutes. That’s a small investment for a rewarding scoop of your very own butterfinger ice cream homemade. Enjoy!
Nutritional Facts for Butterfinger Ice Cream
When diving into the indulgent world of butterfinger ice cream homemade, it’s essential to understand its nutritional composition. This way, you can enjoy each creamy scoop while keeping your dietary goals in mind.
Calories
A single serving of your butterfinger ice cream homemade typically contains around 200-250 calories. This makes for a delightful treat that fits into an occasional dessert plan without overwhelming your daily calorie intake.
Sugar
Sweetness is a hallmark of butterfinger ice cream, with each serving holding about 18-22 grams of sugar. While this adds to the enjoyment, be mindful if you’re watching your sugar consumption; balance is key!
Fat
The rich, creamy texture of this ice cream often comes from fat, contributing approximately 12-15 grams per serving. Utilizing whole dairy products enhances the flavor, providing the buttery notes that make this treat so irresistible.
FAQs About Butterfinger Ice Cream
Making Butterfinger ice cream homemade can spark delightful memories of summer days enjoyed with creamy, crunchy treats. But as with any recipe, questions often pop up. Here’s a handy FAQ section to address your curiosities!
How can I make this ice cream without an ice cream maker?
If you don’t own an ice cream maker, fear not! Simply pour your blended ingredients into a freezer-safe container. Every 30 minutes, stir vigorously with a fork to break up any ice crystals for about 2-3 hours. This manual method yields a creamy texture while saving time and equipment!
What can I do with leftover ingredients?
You’ll likely have extra whipped cream, Butterfinger bars, or even condensed milk. Here are a few ideas:
- Whipped Cream: Use it to top off your favorite desserts, like pies or brownies, or blend it into smoothies for extra creaminess.
- Butterfinger Bars: Crumble extra bars over pancakes or waffles for a sweet crunch, or fold them into cookie dough for a fun twist on classic cookies.
- Condensed Milk: Drizzle it over fruit salads or use it as a base for coffee desserts.
How long can I store homemade ice cream?
Your Butterfinger ice cream homemade can be kept in the freezer for about 1 to 2 weeks if stored in an airtight container. For best results, try to consume it within a week for optimal flavor and texture, as homemade ice cream can become icy over time. Enjoy every scoop while it’s fresh!
Key Takeaway
With these FAQs, you can confidently tackle your homemade ice cream journey! Feel free to experiment and enjoy all the deliciously creamy rewards that come with making your own Butterfinger ice cream.
Conclusion on Butterfinger Ice Cream Homemade
Creating your own Butterfinger ice cream homemade is not just about satisfying a sweet tooth; it’s a delightful experience that can transform a regular day into something special. The combination of smooth, creamy ice cream with crunchy bits of Butterfinger creates a magical contrast that is hard to resist. With just a few simple ingredients—heavy cream, sweetened condensed milk, and of course, the iconic Butterfinger bars—you’ll find that the process is as enjoyable as the final treat. So gather your friends, share some laughs, and indulge in this rich, nostalgic dessert that’s sure to impress.
Print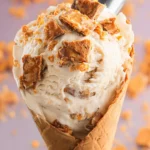
Butterfinger Ice Cream
- Total Time: 25 minutes
- Yield: 8 servings 1x
- Diet: Vegetarian
Description
A delicious homemade ice cream made with Butterfinger candy bars.
Ingredients
Scale
- 4 cups sugar
- 2 cups water
- 4 Butterfinger candy bars or favorite candy bar
- 2–3 quarts half and half
Instructions
- On medium-high heat, bring sugar and water to a rolling boil in a saucepan; continue cooking for about 1 minute.
- Let mixture cool.
- Chop candy bars in a food processor or blender to your desired consistency.
- Pour Butterfinger mixture into sugar mixture and let soak until you are ready to make ice cream.
- Mix Butterfinger mixture with 2 quarts of half and half and pour into 4 quart ice cream maker.
- Lastly, add additional half and half or 2% milk as needed to reach the “fill” line on your ice cream maker.
- Continue making ice cream as instructed on the ice cream maker instructions.
Notes
- This ice cream can be customized with your favorite candy bars.
- Make sure to let the mixture cool completely before adding to the ice cream maker.
- Prep Time: 20 minutes
- Cook Time: 5 minutes
- Category: Dessert
- Method: Ice Cream Maker
- Cuisine: American
Nutrition
- Serving Size: 1 cup
- Calories: 400
- Sugar: 55g
- Sodium: 50mg
- Fat: 22g
- Saturated Fat: 13g
- Unsaturated Fat: 7g
- Trans Fat: 0g
- Carbohydrates: 55g
- Fiber: 1g
- Protein: 5g
- Cholesterol: 90mg